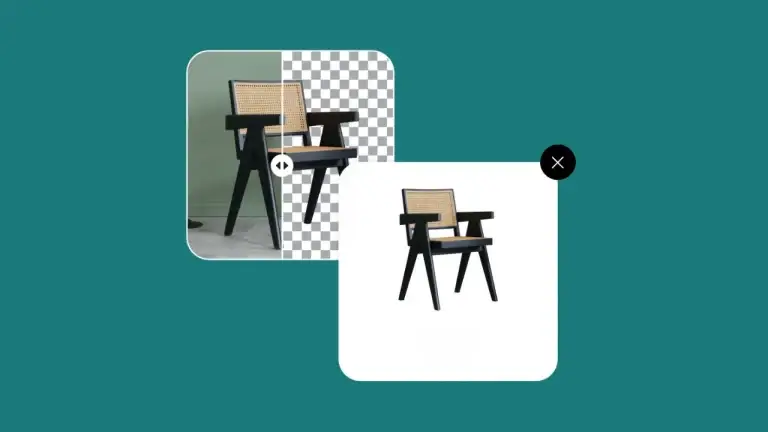
How to Blur Background in PicsArt
Are you ever crazy to search out how to blur background in PicsArt? or how professional photographers blur the background in their routine shots? A blurry background can be obtained by setting up the camera as fine-tuned, which creates the perfect focus on the object, isolates it, and covers the background as hazy.
Suppose you have some old images or have a mobile device that does not support quality DSLR effects. In that case, you can even create amazing and stunning pictures with perfect blurred backgrounds with the help of different mobile apps and reshape your dull images to a perfect one.
Why is it Important to Blur Photo Background?

There are numerous possible reasons for blurring the background of the photo. Taking a picture with a blurred background gives you a professional look. It is another technique used to focus on a specific point in a photo and create a dreamy, soft touch to your photo. Having an image with a blurred background enhances its quality and gives you an eye-catching feeling at first look.
How to Blur Background in PicsArt?
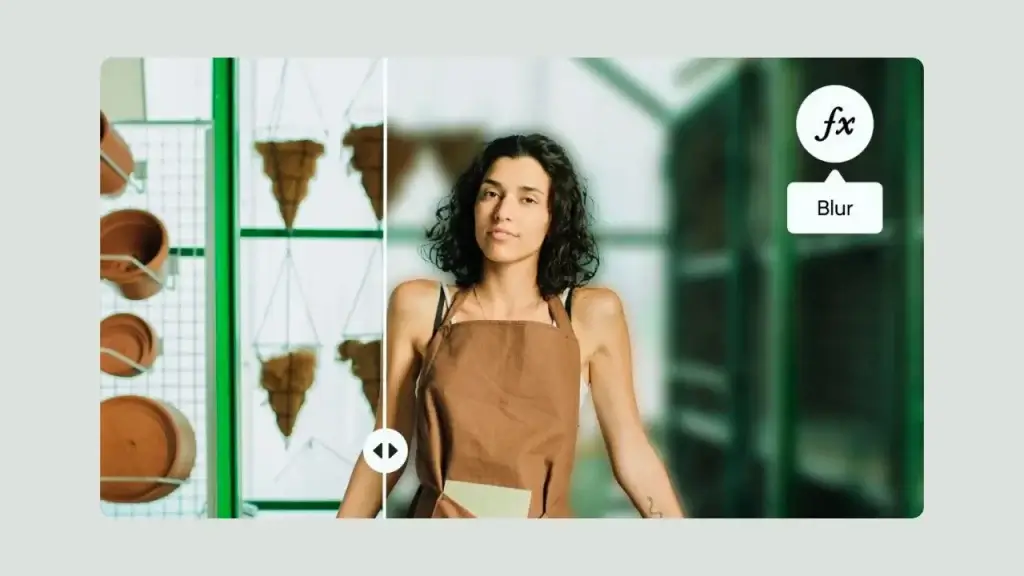
As we have discussed, how important is a blurring of the background? And how you can create pro-level blurred background photos using the PicsArt mobile app and PicsArt web editor.
By Using Mobile Devices (Android/iOS)
Please have a detailed review of the step-by-step guide.

STEP 1:
The first step is to select the photo you want to blur the background; for this purpose, click the button + from the bottom of the app. Here, choose the image of your Android device gallery. For iOS, please click the Square + button and select the photo from the gallery.
STEP 2:
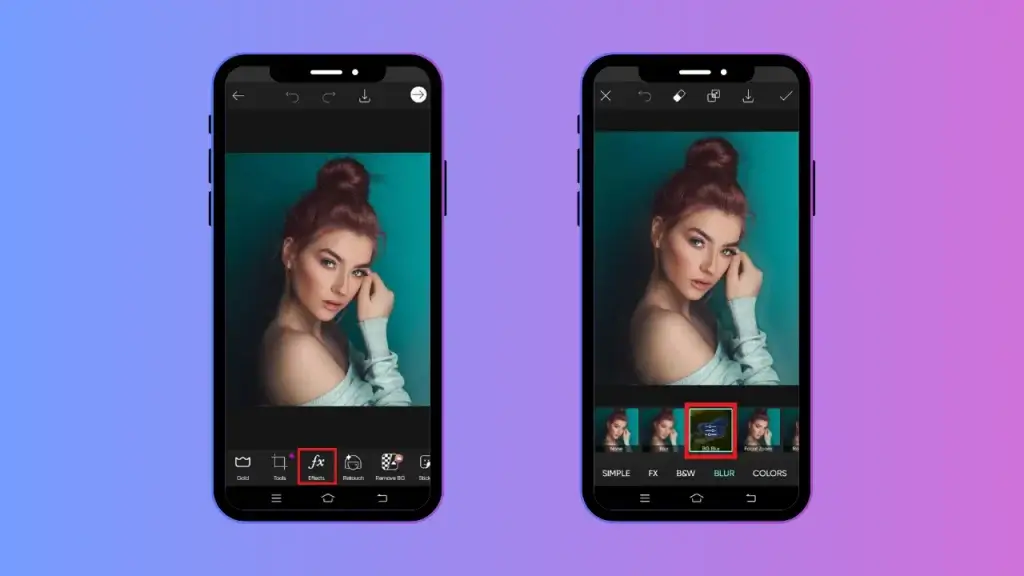
The second step is to use the effects button “fx” and go to the blur section. At the blur menu, there are numerous effects and filters. Set the blur value as per your choice. By applying these, you can blur the complete or partial of your photo. Here, you can see the blur is applied to the entire image. After that, you can mask it out from the subject to remove blur from the subject, and it looks natural.
STEP 3:
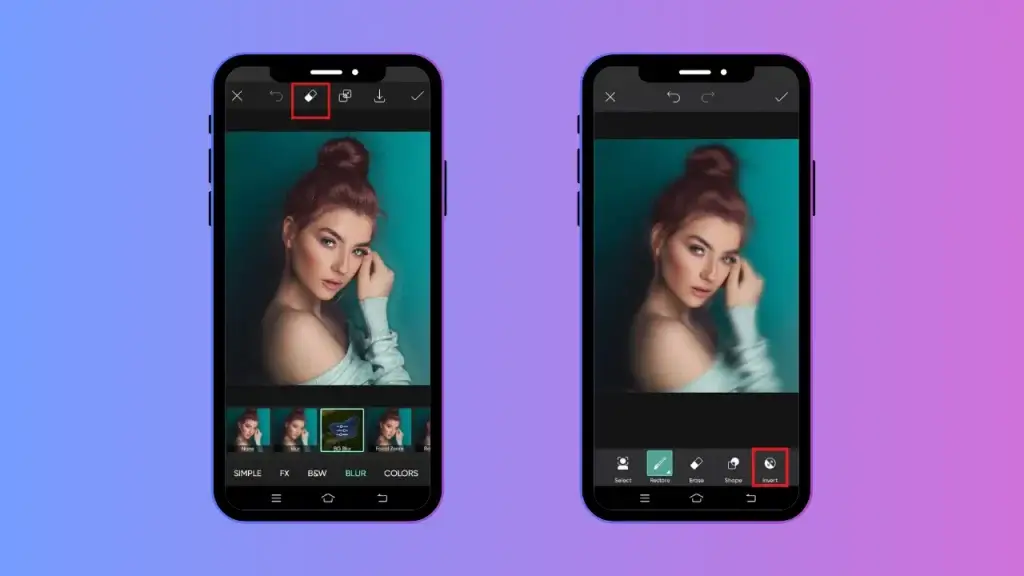
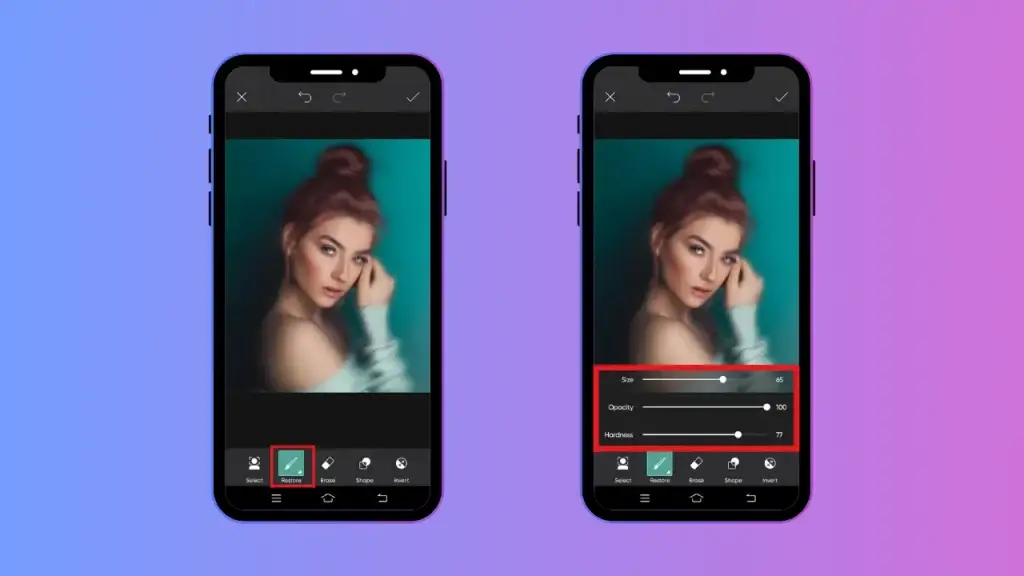
The next step is to pick the tool eraser from the top and tap the inverse button.
STEP 4:
Now click on the restore option and adjust the brush properties. Start to brush the background area you want to blur out. Use the brush slowly and wisely on hair and other detailed parts.
STEP 5:
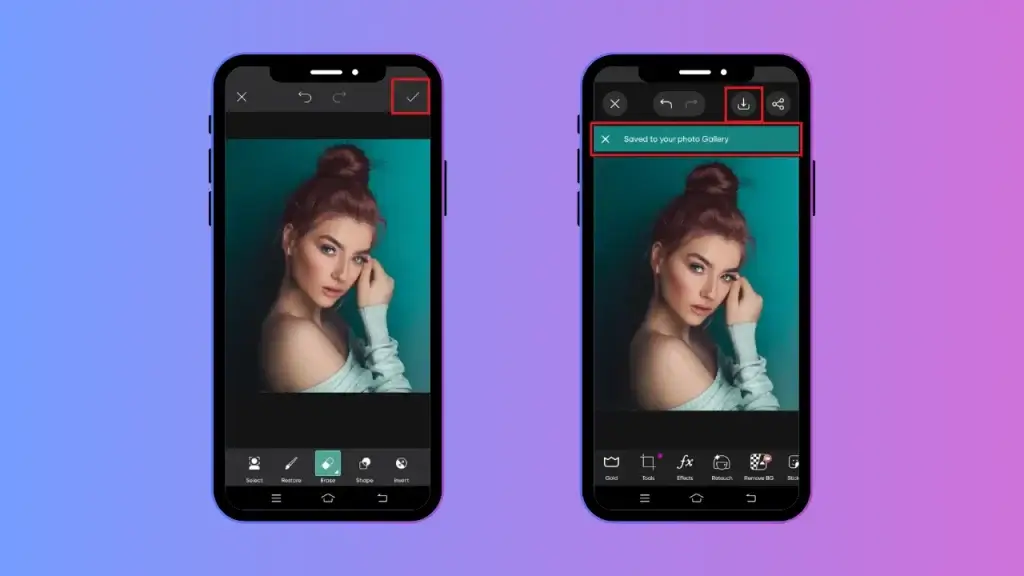
Once you have blurred the background as per your choice, click on the apply button in the top right corner and click it again to export the photo. After, click on the save button from the left corner. It’s saved in your destination folder. Your image is ready with a Blurred Background.
By Using Picsart Web Editor
You can also enjoy online editing by using PicsArt web services through the internet. To access this, you must log in to the app before you start blurring the background from your browser.
Let’s discuss in detail how you can access it.
STEP 1:
In the first step to start a new project, click the button “+.” to upload the photo. Click on the upload button from the left sidebar or use the photo section to access the available images from the PicsArt library.
STEP 2:
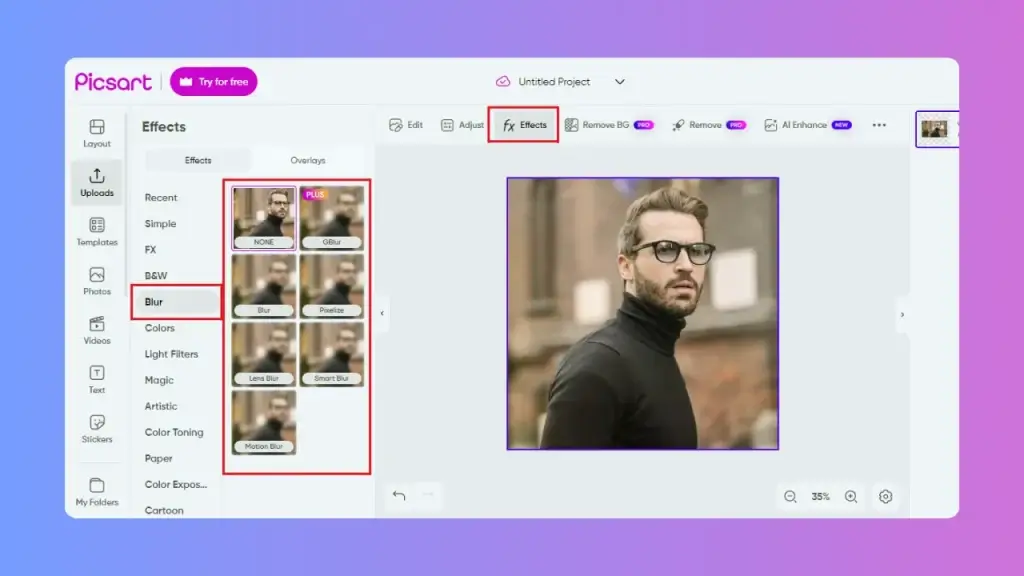
The Second Step is to click on the fx Effects button at the top of the editor section. Explore the popup menu on the left corner of the screen. Now, please select blur to see all the relevant effects. Please choose the effect you want. Adjust the blur size by clicking on the purple button. Blur strength can also be adjusted with the help of a slider. Then, mask it out from the subject. It will help to remove the blur from the subject. Select inverse with the help of the eraser tool.
STEP 3:
From the restore option, you can brush the background area you want.
STEP 4:
From the top right, click the export button to save your edited blurry work.
The Bokeh Effect
Bokeh word is a Japanese term translated as blur. It is described as the effect where background lights are used as softened to give a dreamy, nice touch and glowing aesthetic. This effect comes perfect in both daytime and nighttime photography.
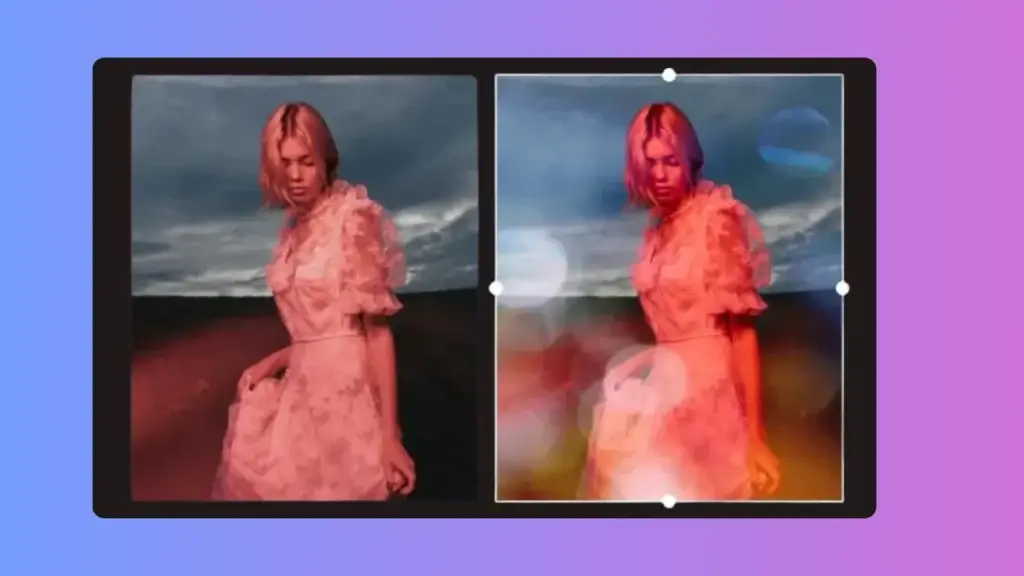
Creating a bokeh effect with PicsArt is amazing; let’s discuss how to create a Bokeh effect in your sweet memories.
STEP 1:
Scroll down to the editor panel to discover the Mask icon from the bottom of the screen. Please click on it.
STEP 2:
Now, find the bokeh tool and click on it. Here, you will find different bokeh effect options with various shapes like hearts, motion blur, etc.
STEP 3:
Choose the effect of your choice, or you can customize it by its intensity and complexion.
Your amazing Bokeh effect is ready. Enjoy your imagination effects by different kinds of edits.
Conclusion
When discussing the best mobile editing app, PicsArt always has a powerful app that can do all kinds of minor and major effects and edits. With this comprehensive discussion, we believe now you know how to blur background in PicsArt of a picture in several simple steps and get pro-level photos. There are many other possible ways to replace and blur the background of the images. Just play with them. Feel free to experience new things and enjoy.

David Blake
Author & Creator


